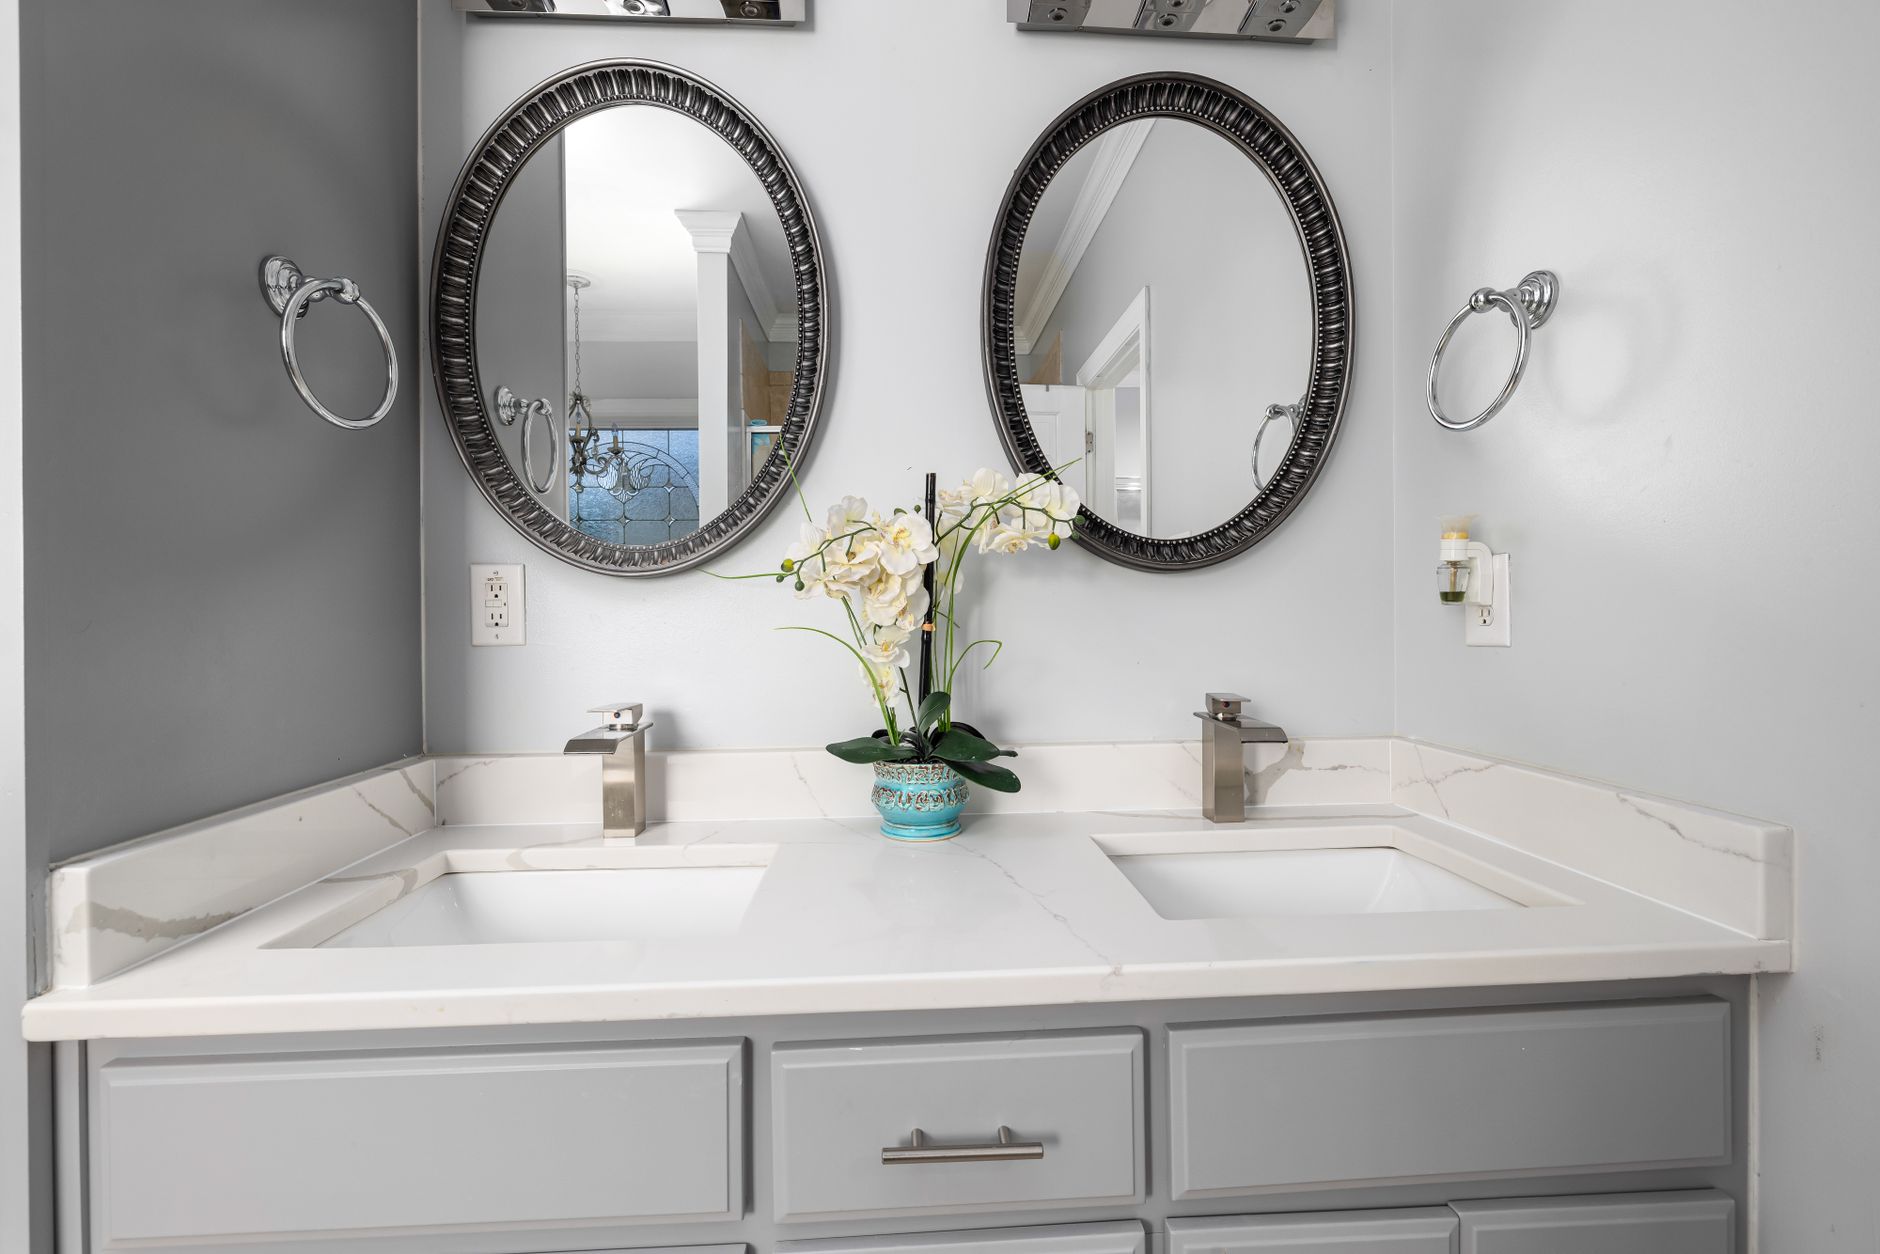
Almost every decision about a kitchen counter is made by looking at the surface. The edge is the part you actually touch. Hands rest on it, hips lean into it, a wet dish is dragged across it, and a toddler walking the length of a galley meets it at exactly head height. It is also the only part of a countertop you see in profile from across the room, which is why two kitchens with the same slab can read completely differently.
In the tract blocks that went up across Lakewood in the early 1950s, that matters more than it does in a newer house. These kitchens are small, usually a galley or an L with a single working run, and the counter often ends at a doorway, a walkway through to the service porch, or the turn into the dining area. There is no island to absorb traffic. Every pass through the room goes within inches of a counter end, which means the edge takes more contact in a Lakewood Park kitchen in a week than an edge in a big open plan room takes in a month.
The edge is also one of the few line items on a countertop quote that a homeowner can genuinely compare between shops, because it is quoted by shape and by the linear foot. The countertops lakewood edge site sets the profile choice alongside the fabrication stage it belongs to, which is the honest way to look at it: the profile is not a finish you pick at the end, it is a cut that happens on the bench before anything reaches your house, and it cannot be changed afterwards without taking material off the front of the counter.
So it is worth understanding what the shapes actually do, rather than picking one off a laminated card at a showroom counter.
An edge profile is a cut and a polish, not a trim piece
On a laminate top, the edge is a separate thing that was glued on, usually a post formed roll or a strip of the same material. On the original tile counters still sitting in plenty of these houses, the edge is a trim piece: a rounded bullnose tile set at the front, bedded in mortar, with a grout line behind it.
On stone or engineered quartz there is no trim piece. The edge is the slab itself, shaped by a profiling wheel and then polished back up to match the top surface. That is the whole reason profiles cost what they do. A simple shape takes one or two passes and a short polish. A complex shape takes more passes with more wheels, and every surface the wheel creates has to be polished by hand or by machine to the same gloss as the factory finish on the face of the slab. The polishing is most of the labour, not the shaping.
This has a practical consequence. A field cut edge, meaning one made in your kitchen on install day rather than in the shop, is polished by hand with a small tool in bad light. It can be done well. It is never as consistent as a shop edge, and it is a fair question to ask where each visible edge on your job is going to be made.
Thickness decides which profiles are even available
Slabs arrive in two common thicknesses, usually described in centimetres, and the thinner one is roughly two thirds the depth of the thicker one. That difference drives a great deal of what follows.
On a thicker slab the edge can simply be shaped out of the material that is there. The counter looks the thickness it is, and a single piece of stone carries the profile.
On a thinner slab, the usual approach is a laminated or built up edge. A strip of the same material is bonded under the front, the joint is ground flush, and the profile is cut through both pieces so it reads as one thick edge. Done properly, with the strip taken from the same slab and the seam positioned where the profile curves away from the eye, it is close to invisible. Done carelessly, you get a hairline dark line running the length of the counter at eye level, and on a heavily patterned stone the pattern does not line up across it.
Neither thickness is correct. What matters is that you know which one you are buying, whether the edge is being built up, and where the lamination seam will sit relative to the profile. A thin slab with a built up edge can also be the right answer in an old kitchen with cabinets that are not dead level, because it is lighter to carry through a narrow hallway and up over a doorway threshold.
The profiles, and what each one does in daily use
Eased
A square edge with the sharp corners taken off, so the top and bottom arrises are a small radius rather than a point. This is the default in most shops and it deserves to be. It looks current, it suits the plain cabinet fronts people put in these houses, and it has no deep hollows for anything to collect in.
Its weakness is that it is the most likely profile to show a chip, because the material at the corner is closest to being a point. The radius is what protects it, and the size of that radius varies between shops more than anyone admits. Look at it.
Bevel
A flat chamfer at the top, often with an eased bottom. It throws a hard line of light along the counter, which can be striking, and it reads as slightly more formal than a plain eased edge.
In use, a bevel is kinder to the forearm than a square edge and harder on a hip bone than a curve. The top line of the bevel is still a corner, so it is not materially less chip prone than an eased edge, and on a dark polished stone it shows dust and hard water film along the flat.
Bullnose and half bullnose
A full bullnose is a half circle across the whole thickness. A half bullnose, sometimes called a demi bullnose, curves the top portion and leaves the bottom closer to square.
Curves are the most forgiving edge in a small kitchen. There is no corner to chip, a knock usually leaves a bruise rather than a flake, and the shape is comfortable to lean on for long stretches, which matters when the only standing room in the kitchen is beside the sink. The half bullnose is the better of the two in most rooms, because a full bullnose sheds water off the front of the counter rather than letting it sit, and water running down the face of the cabinet doors over the years is how the finish fails at the bottom.
There is also a local reason to look twice at a curve. If the kitchen still has its original rounded tile trim, or if the house has other 1950s details you are keeping, a half bullnose sits more naturally alongside them than a sharp bevel does.
Ogee and the deep decorative profiles
An ogee is an S curve, a concave sweep over a convex one. Along with the various stacked and layered profiles it is the one that signals traditional cabinetry, and it does that job well.
What it costs in use is real. It has a hollow, and a hollow in a kitchen collects grease, dust and the mineral film that hard local water leaves behind. It has more exposed surface, so there is more polished stone to keep looking right. The concave part of the curve is thin, so it is the profile most likely to chip badly rather than slightly, and the chip is harder to repair invisibly because the polisher has to recreate a curve rather than a flat. On a soft stone such as marble, a deep profile is a poor match for the material.
Deep profiles also want depth. In a narrow Lakewood kitchen where the counter may be shallower than a modern standard, a profile that eats visual depth from the front of the run makes a small room look smaller.
Mitred and waterfall edges
A mitred edge is two pieces cut at matching angles and joined so the stone appears much thicker than the slab, sometimes dramatically so. A waterfall is the same technique turned vertical, carrying the stone down the end of a run to the floor.
These are the most demanding edges a shop makes. The joint has to be tight along its whole length, the pattern has to continue across it, and the apparent thickness has to be identical from one end of the kitchen to the other. When it works it is the best looking edge available. When it does not, the seam is at eye level forever.
In a 1950s galley there is one genuinely good use for the technique: the open end of a counter run beside a doorway. A mitred return there gives a solid, visually finished end to the run instead of a thin exposed edge, and it protects the corner that gets hit most often.
Where the edge gets chipped, and by what
Chips are not random. In these kitchens they cluster in a short list of places.
The outside corner at the open end of a run, by the walkway, hit by a chair back, a stroller, a vacuum or a bag of shopping being set down. The corner nearest the range, where a cast iron pan is swung down onto stone. The front edge directly beside the sink, where a heavy pot lands on the rim as it comes out of the water. And the edge at the end of an upper run where a stepladder foot gets planted.
Two things reduce it. A larger radius at any outside corner, which is a request you make at template time and which a shop will usually do for nothing. And choosing the forgiving profile at exactly those positions, which is allowed: there is no rule that says every edge in the kitchen has to be the same shape, though keeping the main run consistent is worth doing for the look.
Repair is possible. A small chip in stone or quartz can be filled with a colour matched resin and polished back, and on a plain colour it can be nearly invisible. On a dramatic vein it never quite is.
How to look at a sample edge before you sign
Showroom samples are usually small tiles with one profiled edge, held up at chest height under bright downlights. That tells you almost nothing about how the edge will behave.
Ask instead for a longer offcut with the profile run along it, and take it into your own kitchen. Set it on the cabinet run at counter height, in daylight, with your own lights on, then look at it from the doorway rather than from above. Run the back of your hand along it. Press a wet cloth on it and see where the water goes and whether it runs off the front. Look along the length for a lamination line if the edge is built up. Look at the polish where a curve turns, because an inconsistent gloss in that spot is the clearest sign of a rushed polish.
Then ask three questions. Which edges on this job are cut in the shop and which on site. What radius are the outside corners getting. And if this edge chips in five years, what does the repair look like.
An edge is a permanent decision made in an hour, on a surface you will touch every day for twenty years. It deserves more than a glance at a sample board.